A Step-by-Step Guide on How to Write an Invoice

How to Write an Invoice (Step-by-Step Guide + Free Template)
Getting paid accurately and on time starts with one crucial document — the invoice. For freelancers and small business owners, knowing how to write an invoice ensures smoother cash flow, accurate records, and professional client relationships.
In this guide, you’ll learn how to create a professional invoice, download a free invoice template, and even generate invoices online using our free invoice generator tool.
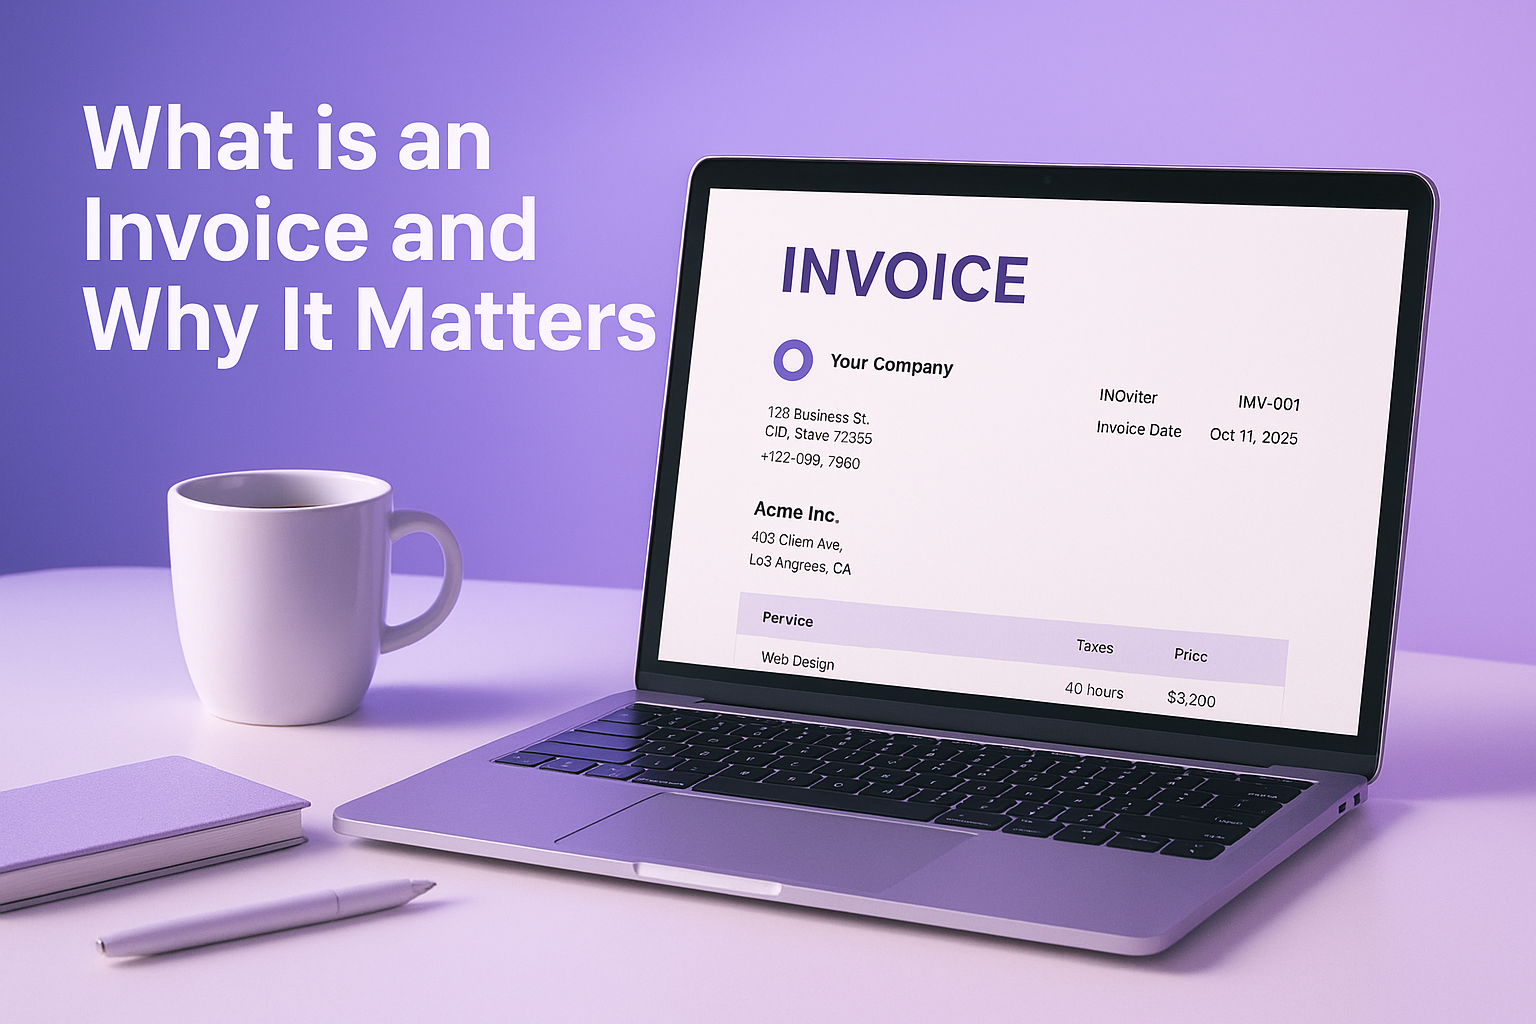
What Is an Invoice and Why It Matters
An invoice is a formal request for payment issued after providing a product or service. It’s legally binding and serves multiple purposes:
- Financial record-keeping: Proof of sale for accounting and tax purposes.
- Cash flow management: Helps track who owes you and when payment is due.
- Professionalism: A well-designed invoice builds trust with clients.
Step 1: Label the Document Clearly and Add Your Business Details
Every sample invoice starts with a clear title and sender information. Include:
- Title: Display “INVOICE” at the top.
- Your Details: Business name, logo, address, phone, and email.

Step 2: Add Your Client’s Information
Prevent delays by including complete and accurate client information:
- Client’s name or company name
- Client’s address
- Contact person and email
- Purchase Order (PO) number, if needed
Step 3: Assign a Unique Invoice Number and Add Dates
- Unique invoice number (e.g., INV-001)
- Invoice issue date
- Payment due date (Net 14, Net 30, etc.)
Step 4: List Products or Services in Detail
Transparency builds trust. Create an itemized invoice including:
- Description of each service or product
- Quantity or hours worked
- Rate per unit
- Line total
- Subtotal, taxes, and discounts
Step 5: Calculate the Total Amount Due
Make the final amount payable stand out visually — this helps clients pay faster.
Step 6: Define Your Payment Terms and Methods
Be explicit about your payment expectations:
- Payment terms (e.g., Net 14, Net 30, or late fees)
- Accepted payment methods (Bank transfer, PayPal, Stripe)
Step 7: Add a Professional Closing Note
End your invoice with a personal touch to leave a good impression:
Example: “Thank you for your business!” or “We appreciate your prompt payment.”
Download a Free Invoice Template
If you prefer ready-made designs, check out our free invoice templates — available in Word, Excel, and PDF formats.
Create an Invoice Instantly with Our Free Invoice Generator
Want to skip the manual work? Try our Free Invoice Generator — a quick and easy way to create invoices online and download them as PDF in seconds.